Now that I have had
my first shower and there are stacks of diapers and baby lotion in the nursery things are getting REAL around here. So today's DIY nursery item is one I did mostly to escape from reality, a practice I am very well versed in as the weeks toward having a real, live baby fly by.
I made a lot of the bedding for the nursery myself (post on that coming SOON), but after I was finished I had a bunch of scraps I wasn't sure what to do with. So, I turned to Pinterest where I saw
this post on the most precious nursery with the most precious stuffed owl. Then I searched for tutorials to make my own, and found this one for
stuffed owl ornaments that was soooo simple, so I made mine just like the ornaments but baby sized.
Bring on the pictures.
And steps.
Even though it is reeeally simple and you don't need them. Nevertheless...
What you need:
-Fabric for the owl body. Amount depends on the size of the owl you want.
-Various fabric for wings, eyes, belly, etc. I used a mixture of felt and flannel so that it was really soft.
-Ric Rak, or other kinds of embellishments, if you want. It's your life.
-Stuffing
1. Draw your pattern on some heavier paper or poster board then trace on fabric. You can find the pattern for the ornament size
here then just blow it up for whatever size you want.
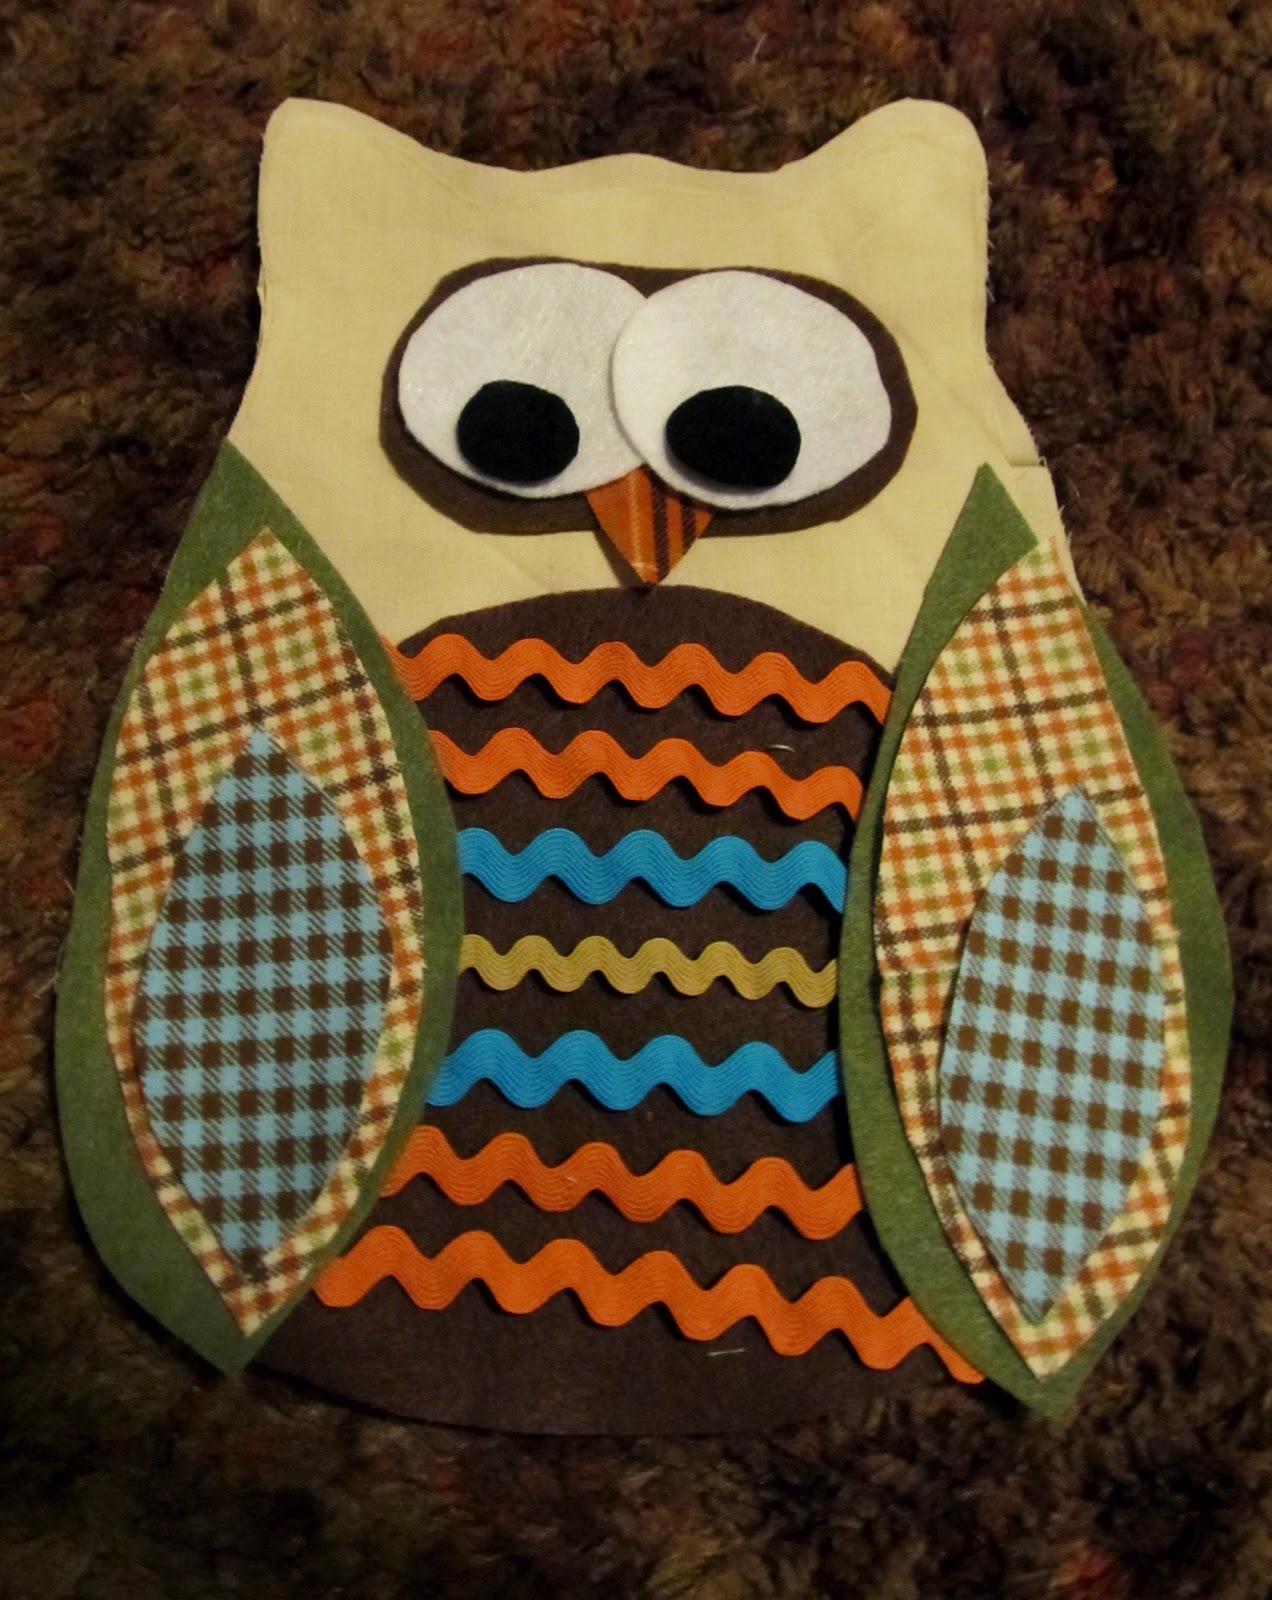
2. Cut out all of your pieces: Body, eyes, wings, belly, beak, etc.
3. Lay them out on the owl top so you know how you want it to look.
4. I did a lot of fabric layering, so I started sewing layer by layer. For example, sewing all of the pieces of the eyes together, then sewing all of the pieces of the wings together, etc.
5. Start sewing the pieces you sewed separately to the owl body.
6. Sew the top and bottom of the owl body together, right sides together, leaving about 3 inches un-sewn at the base of the owl
7. Flip it right side out and stuff
8. Cut strips of fabric for the legs, about 4in. wide. Sew right sides together, flip inside out, stuff, and sew inside the opening at the owl base. Hand sew to close up the base.
9. You're done!
He's cute, and easy, and baby will think you are real creative, and will be WAY good for you and sleep through the night because he is so thankful that you would make such a cute owl for him.
At least that's what he told me, and I believe him.
OX/W.
See all DIY nursery series posts
here.
Labels: diy, style